How difficult is traditional upholstery for beginners?
Are you sitting uncomfortably? Then I’ll begin…
There comes a moment in every furniture lover’s life when they look at a saggy-bottomed chair and think, “I’m sure you’ve got life in you yet.” And the lovely thing is: you’re usually right.
Traditional upholstery can breathe new life into almost any well-made chair, whether it’s a family heirloom, a charity-shop bargain or a dusty treasure that’s been hiding in someone’s loft for far too long. But how exactly do you reupholster a chair the traditional way? No foam, no staples, none of the modern shortcuts that crumble, squeak or make you question the meaning of life.
Let’s go through it together.
What is traditional upholstery?
Traditional upholstery is a heritage craft. It uses natural, sustainable materials that have served our ancestors beautifully for centuries. Instead of foam and staples, you’ll be working with webbing, springs, hessian, hair, fibre, calico and tacks..... Glorious tacks. These materials breathe, hold their shape, and age gracefully. And unlike foam, they don’t collapse into dust the first time the dog jumps on the chair.
When you upholster traditionally, you aren’t just fixing a seat. You’re making an antique of the future.
Why bother reupholstering a chair yourself?
Because it’s wonderfully rewarding. You get creativity, craftsmanship and satisfaction all rolled into one. You save a beautiful piece of furniture from landfill. You learn a proper skill. You end up with something bespoke, meaningful and long-lasting.
And let’s be honest, your fabric choices alone can be a form of pure fabric porn.
Plus, beginners absolutely can learn this craft. I’ve taught hundreds of students over the last 40 years, and many of them start with no experience at all. Skill grows quickly when you have clear, close-up guidance.
Choosing the right chair to start with
You don’t need the perfect chair, you simply need a solid one. Good choices include:
• Dining chairs
• Bedroom chairs
• Footstools
• Nursing chairs
• Small armchairs
If the frame is sturdy and you like the shape, you’re off to a great start. Avoid wobbly frames unless you want to dive into wood repairs too.
Essential tools for traditional upholstery
The good news is you don’t need a shed full of tools. Just a few reliable favourites:
• Magnetic upholstery hammer
• Webbing stretcher
• Regulator
• Upholstery needles
• Twine
• Tacks
• Sharp scissors
• Chalk and tape measure
I’ve gathered a list of recommended tools and materials here (#ad):
amazon.co.uk/shop/alisonscottonlineupholstery
Step-by-step: how to reupholster a chair the traditional way
1. Strip the chair back to the frame
This is where you become a detective. Take your time. Notice how the chair was originally made. The craftsmanship from years ago will teach you more than any book can. And please don’t be tempted to rush. Stripping is half observation, half archaeology. If it was traditionally upholstered before, you may even find it only needs a replacement top cover or the rolled edges and stuffing can be restored and reused,
2. Replace the webbing
Webbing is the foundation of the seat, and getting the tension right makes all the difference. Work from the middle fa-diddle out. If your webbing is too loose, the seat will sag. Too tight and you risk damaging the frame. But don’t worry - after you’ve done it once, it becomes surprisingly intuitive.
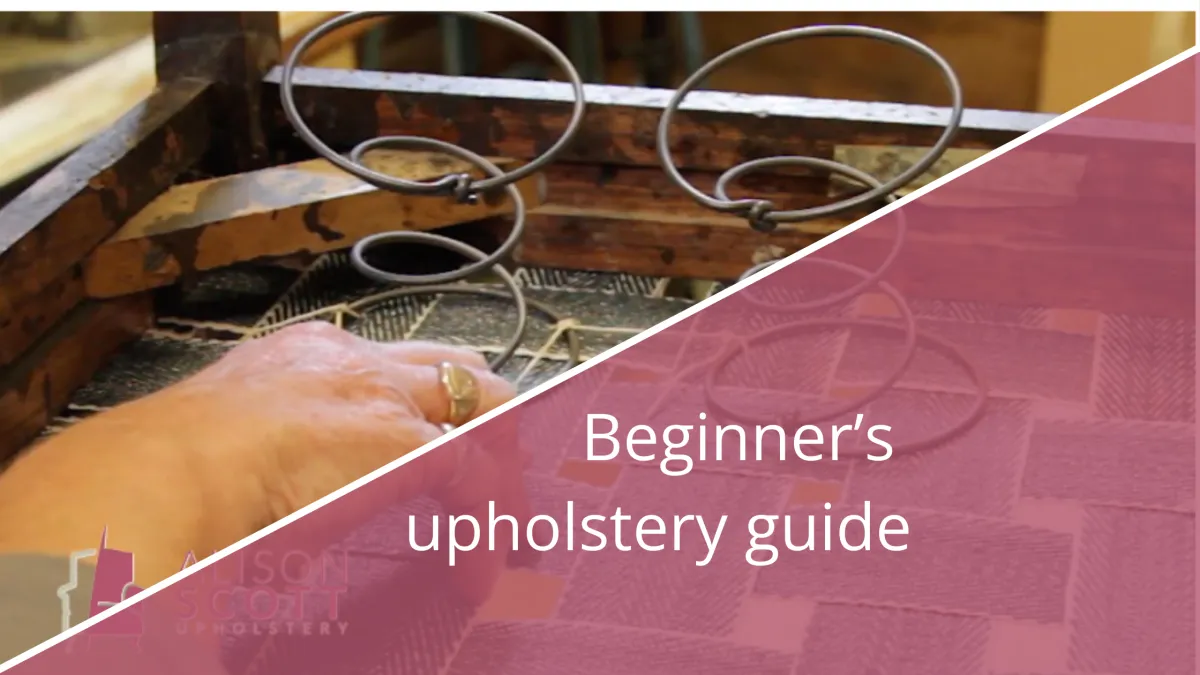
3. Stitch and lace the springs
Springs look intimidating but they’re wonderfully logical once you understand them. A bit of wriggle-diggle, a bit of twine, a bit of rhythm, and suddenly your springs behave beautifully instead of leaping across the room. The key is to get them correctly and evenly positioned.
4. Add hessian
Hessian is your first structural layer over the springs. Tack it neatly. Pull it firm. Enjoy the soft thud of a tack setting properly. It’s one of life’s underrated pleasures.
5. Build your stitched edge
This is the heart of traditional upholstery. The stitched edge shapes your seat and prevents stuffing from spilling out over time. If your first attempt looks a little wobbly, don’t worry. Mine certainly did. Skill only comes from doing.
6. Add stuffing and shape your seat
Traditional stuffing — whether it’s hair, fibre or a blend — can be sculpted and teased beautifully. No crumbling. No dust. No synthetic sadness.
7. Fit the calico
Calico holds everything neatly in place and gives you the chance to perfect the shape before the final fabric goes on. Think of it as the well-fitted undergarment beneath the glamorous outfit.
8. Fit your top cover
Now the fun begins. This is where your creativity gets to shine. Whether you choose bold florals, classic stripes or something gloriously eccentric, this is the moment your chair becomes uniquely yours.
Check out my free downloads which will help you calculate how much fabric to buy and more
9. Add finishing touches
Piping, buttoning, trimming - whatever works for your chair and your vision. This is where you step back and think, “Yes. That’s exactly how it should look” and is the part where you can show off your true creativity and personality.
How long does traditional upholstery take?
Ah, the golden question. How long is a piece of string?
A dining chair might take a few hours. A sprung armchair might take days or weeks. Experience helps, but time and patience are what matter most. The process is therapeutic, mindful and deeply absorbing.
Can you learn traditional upholstery online?
Absolutely. In many ways, it’s the best way to learn because you can watch, pause, rewind and see every detail up close. I filmed more than forty hours of tutorials specifically so beginners could learn properly without needing to attend workshops in person.
It’s like having me in the room with you - minus my catch phrases and workshop biscuit selection... unless you count the voices in your head repeating “measure twice, cut once”.
Ready to begin your first upholstery project?
Join my online course and learn every traditional skill from stripping back to the frame right through to fitting your top cover and adding those all-important finishing touches.
Start learning upholstery today
👉 learn.alisonscottupholstery.co.uk
